

How to Create Personalized Welcome Packs for New Clients and Employees

A good welcome pack does more than put a logo on a few things. It helps a new employee feel ready for their first day, or gives a new client a clear, confident start.
The best part? You don’t need a huge budget or a box full of branded items. A thoughtful note, useful information, and one or two personal touches can go a long way.
Here’s a practical way to build a welcome pack that feels like it was made for the person receiving it.
Start with what they need to know
Before choosing gifts, think about what your new employee or client might be wondering:
- Who will I work with?
- What happens next?
- Where can I find the information I need?
- What do I need to do first?
Answering those questions is the heart of a useful welcome pack. Personal touches are lovely, but they work best when they sit alongside clear, helpful information.
For employees, that might mean a first-day schedule, team introductions, building access details, or a quick guide to the tools they’ll use. For clients, it might mean a project timeline, key contacts, communication preferences, and a checklist of what you need from them.
As Greenhouse’s guide to new employee welcome kits notes, practical first-week details and the tools people need to do their jobs matter just as much as company swag. A client welcome packet can serve a similar purpose: explain who’s involved, what happens next, and how to get started.
What to include in an employee welcome pack
Think of an employee pack as a friendly first-day guide, with a few useful items to make the start feel special.
Consider including:
- A personal welcome note: Write the employee’s name and role. A short message from their manager or team lead feels more genuine than a generic “Welcome aboard.”
- A first-day or first-week schedule: Include start time, location or video-call details, planned introductions, and who to contact if anything changes.
- Team and company information: Share names, roles, and a brief overview of the team. Add links to the handbook, internal tools, and key policies.
- Practical essentials: Depending on the role, this could include a notebook, pen, access card, or the equipment and login instructions they need.
- One useful branded item: A shirt, cup, or small keepsake can help someone feel part of the team without turning the pack into a pile of things they won’t use.
For remote employees, send a digital quick-start guide and arrange delivery of any physical items ahead of their start date. Make sure access, equipment, and meeting links are ready too. A lovely box can’t fix a missing login, but it can make the login instructions easier to find.
What to include in a client welcome pack
A client welcome pack should make the next steps feel clear and manageable. Keep it short enough to scan, and give the client one obvious action to take.
Include:
- A note from their main contact: Use the client’s name and refer to the service or project they’re starting.
- A quick team introduction: Explain who handles what and how the client can reach each person.
- A simple timeline: Outline the first few steps, such as completing an intake form, sharing materials, attending a kickoff, or reviewing an initial plan.
- A “what we need from you” list: Be specific about files, details, or approvals. Say what format you need and where to send it.
- Communication expectations: Share the preferred contact channel and typical response time.
- One clear next step: Link directly to the form, calendar, or upload page they need.
You can provide this information in a short PDF, email, or web page. Keep any contract, invoice, or detailed project paperwork separate so the welcome materials are easy to understand.
Personalize it without overspending
Personalization doesn’t have to mean buying a different gift for every person. Start with one core pack, then customize a few details that matter.
Use a reusable template for your schedule, contact information, or project steps. Then personalize the greeting, name, role or service, and the most relevant links. If you’re sending physical packs, choose a small number of practical items and repeat the same design across them.
A few budget-friendly touches:
- Add a handwritten note or a short message from the team.
- Include a QR code linking to the employee guide, client portal, or project timeline.
- Use the person’s name on a card, label, or keepsake.
- Offer a digital-only pack when a physical gift isn’t needed.
- Ask for useful preferences in advance, such as shirt size or accessibility needs.
Before sending, double-check names, dates, links, and job titles. One small typo can make a personal touch feel less personal.
Make your branding work harder with custom printing
Custom printing gives you options for creating a consistent look without needing to design each item from scratch. Choose the method based on the item you’re decorating.
DTF transfers are for fabric items. They’re a practical choice for branded shirts and other fabric pieces. With a custom DTF gangsheet, you can arrange several designs together (such as your logo, a small team mark, or different names) to prepare multiple welcome items in one order. Follow the transfer’s application instructions and use the right fabric.
UV DTF transfers are for suitable hard surfaces. These peel-and-stick designs can be used on items such as cups, glass, and accessories. A custom UV DTF gangsheets lets you arrange multiple designs together. Choose a compatible surface and follow the application instructions; these transfers are not intended for fabric.
Sublimation prints are for compatible blanks. If you’re making a custom keepsake, sublimation prints can be used with blanks designed for sublimation. Check the blank’s requirements before choosing this method.
You can also make your welcome area part of the experience. A custom printed banner can introduce a new hire at the office, welcome clients to an event, or give a team gathering a more personal feel.
Need help turning a logo or rough idea into a print-ready design? Proverbs Thirty What offers a custom artwork design service to help bring a design together before printing.
Add a keepsake for a more personal welcome
If your budget allows, one personalized gift can make the pack feel memorable without making it complicated. Think about what the person might genuinely enjoy or use.
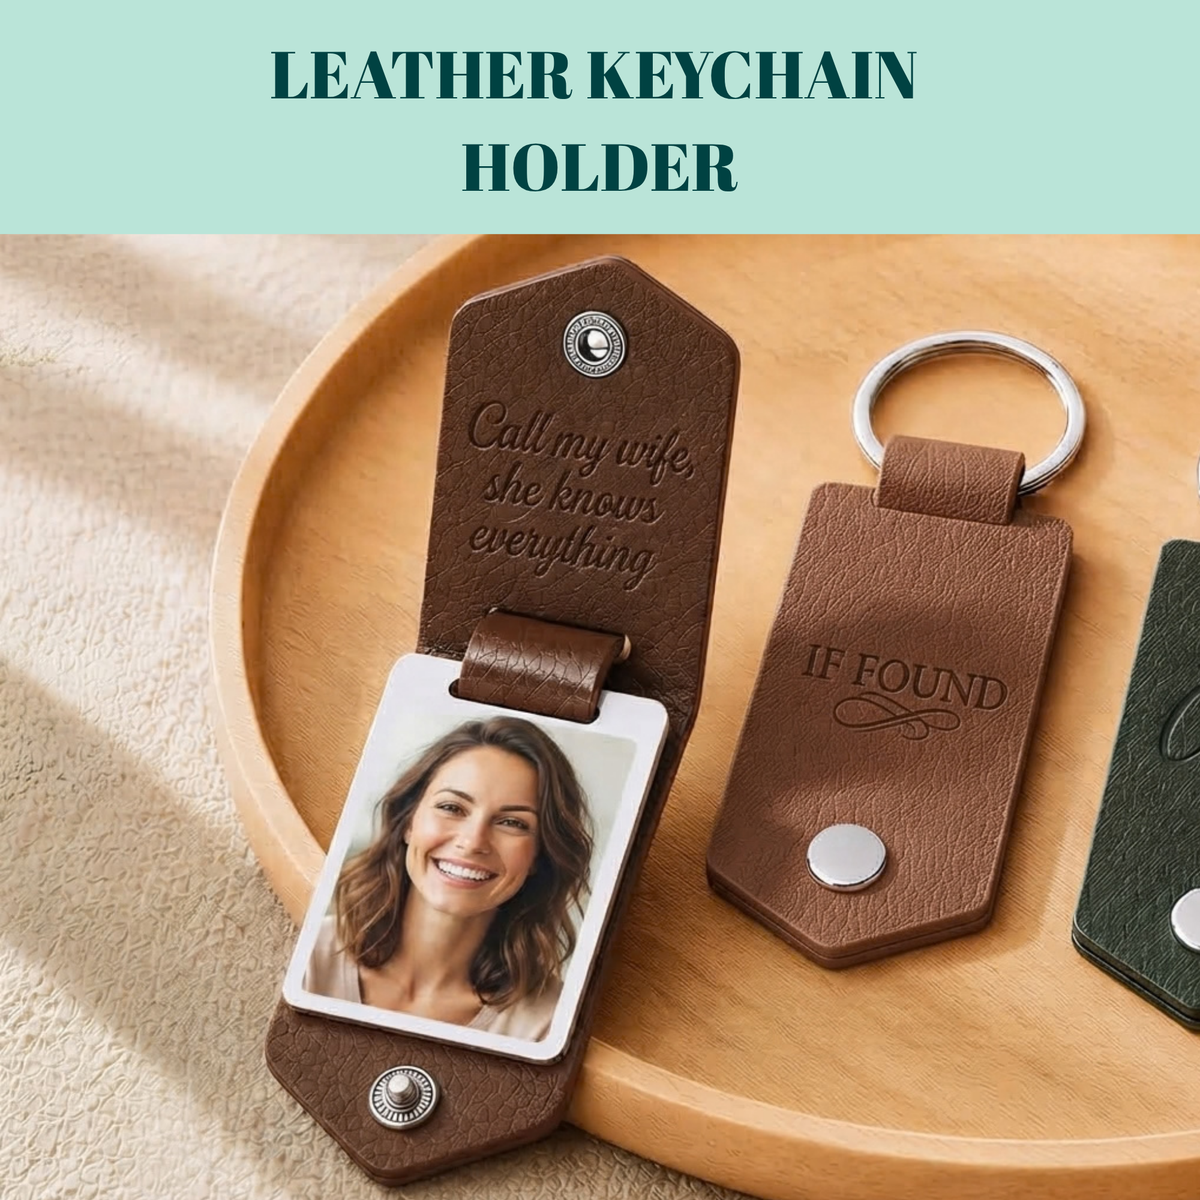
A leather accessory can be a polished option for a client or employee milestone. A photo magnet might suit a team welcome or company anniversary, while a custom phone case can work as a more individual gift when you know the recipient’s preferences.
For a client, choose a gift that feels appropriate to your working relationship. For employees, avoid assuming everyone wants the same thing. A small, optional gift or a choice between a physical item and a digital welcome is often a considerate approach.
A simple process to build your pack
Use this checklist to create a pack you can repeat and improve:
- Choose the purpose. Decide whether the pack is for an employee’s first day, a new client project, or another specific moment.
- List the essential information. Include the schedule or timeline, key contacts, and immediate next steps.
- Pick one or two useful items. Choose gifts and branded products that make sense for the recipient and your budget.
- Select the right print method. Use DTF for fabric, UV DTF for compatible hard goods, and sublimation for suitable blanks.
- Personalize the details. Add the recipient’s name, role or service, and any relevant links or instructions.
- Check every item. Confirm spelling, dates, sizes, artwork, and delivery details before you assemble or send the pack.
A welcome pack doesn’t need to be elaborate to feel thoughtful. When people understand what to expect and who can help, they start off better. A couple of personal details help them feel at home.
0 comments